How to Make a Decorative DIY Air Vent Cover
Update your plain air return covers with this easy DIY.
How to replace your basic metal wall grilles with custom versions that add architectural interest in your home!
We had a long air intake vent in our foyer that bugged me because it was one of the first things you see when walking in our front door.
This is the only noticeable wall vent that we have in the house…there’s another in our bedroom but it’s not nearly as big:
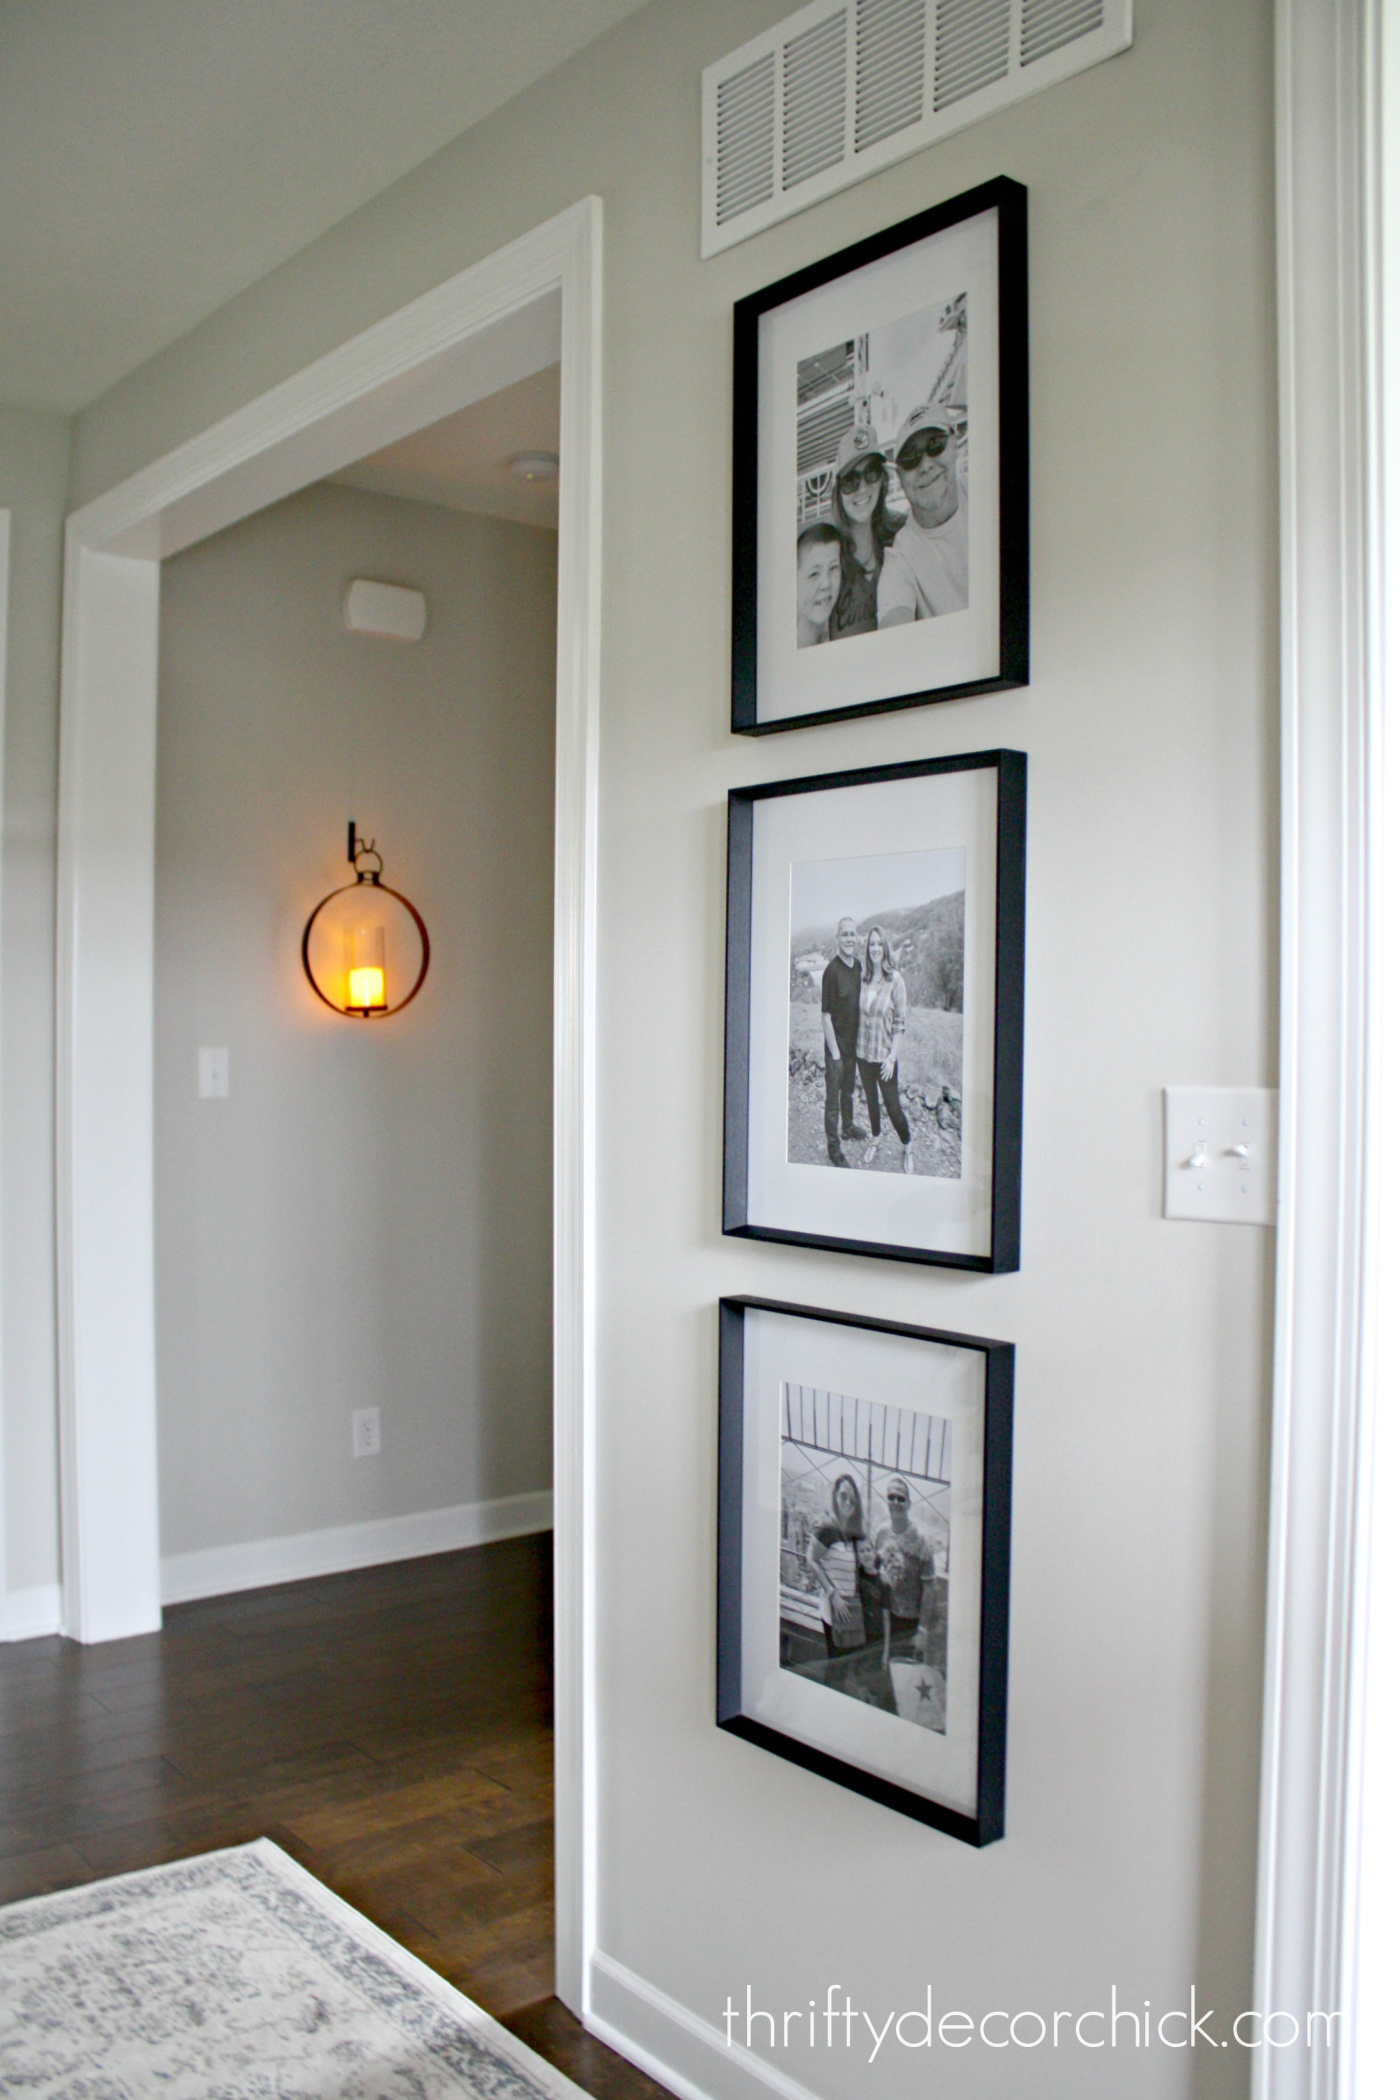
I’m guessing no one else notices it, but it’s a spot that I knew I could make so much more attractive. Initially my plan was to try to paint the existing cover to match our walls, but then I had a better idea.
I’ve wanted to make this DIY vent cover for years, and I finally got to it! This is a fairly easy project that doesn’t require major power tools.
You can buy these decorative covers online…but you’ll save a TON by doing this yourself. 🙂
Pick out your supplies
You’ll need decorative metal sheeting for this project. I’ve used this stuff many times over the years and it comes in so many beautiful designs:

This post may contain affiliate links for your convenience.
I may earn a small commission when you make a purchase through links.
It’s made for vent and radiator covers, but the possibilities are endless!

Measure and cut your sheeting
The first step is to measure the vent opening — take the old one down and measure the open space. You’ll want your metal sheeting to be that size and you can add onto the overall measurements with the frame you’ll add.
The metal sheets are very thin, but keep their shape well and lay flat nicely. You don’t even need tin snips to cut it! I use old scissors and they work perfectly:
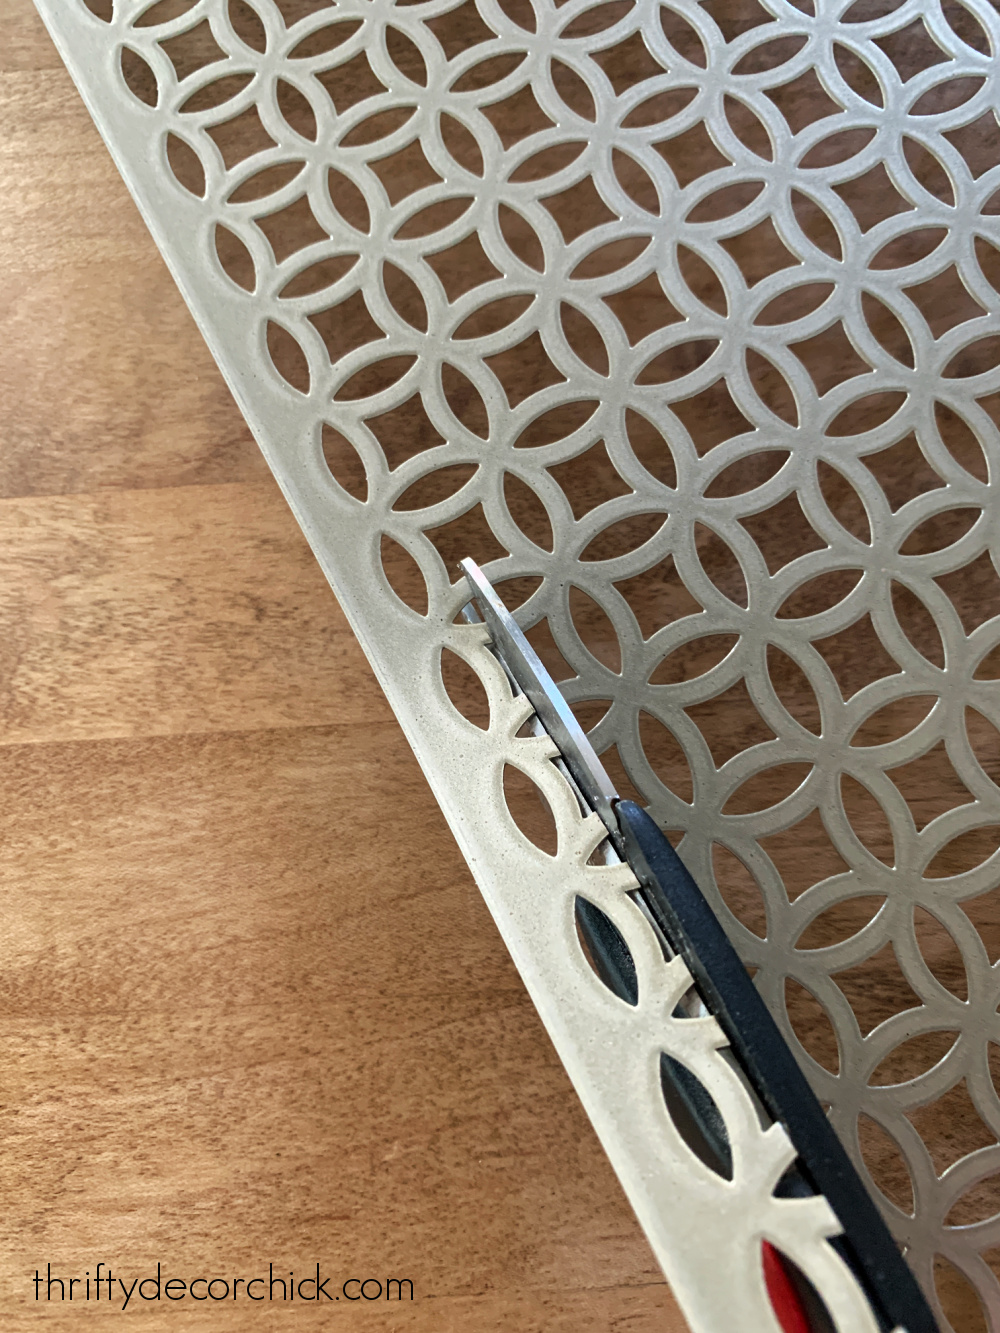
As with many DIY projects, there are SO many ways to go about your build. This was my first time at this one, so I winged it at the end.
I like to share my process to show you that it doesn’t have to be absolutely perfect to be functional and look great!
I wanted the profile of the new air vent to be simple, so I chose 1/2 thick wood at about two inches wide. I prefer a clean look, so mitered my corners instead of butting the ends up against each other.
Keep in mind if you butt the ends of the wood pieces up to each other and don’t meet them at an angle, you’ll have the raw/cut wood ends showing at either the top and bottom or the sides. Even though it makes the process a little easier, I wanted to avoid that.
I laid the trim on the metal to determine where I wanted it to lay and made sure that the design matched at the top and bottom and then both sides before making my final cuts:

I painted the wood with a couple coats of the Agreeable Gray before building the frame.
Because I only have one clamp, I wanted to speed the process along a little bit. I added a couple of staples on the back of the corners to hold the pieces together as it dried.
I got impatient though, and as I worked my way around the frame connecting the corners, a couple of them came loose as I went. The backs were still secure, but the front was coming apart a bit.
The mitered corners do make the assembly a bit more difficult. If you butt the wood pieces together, you can drill pocket holes and screws to attach everything securely.
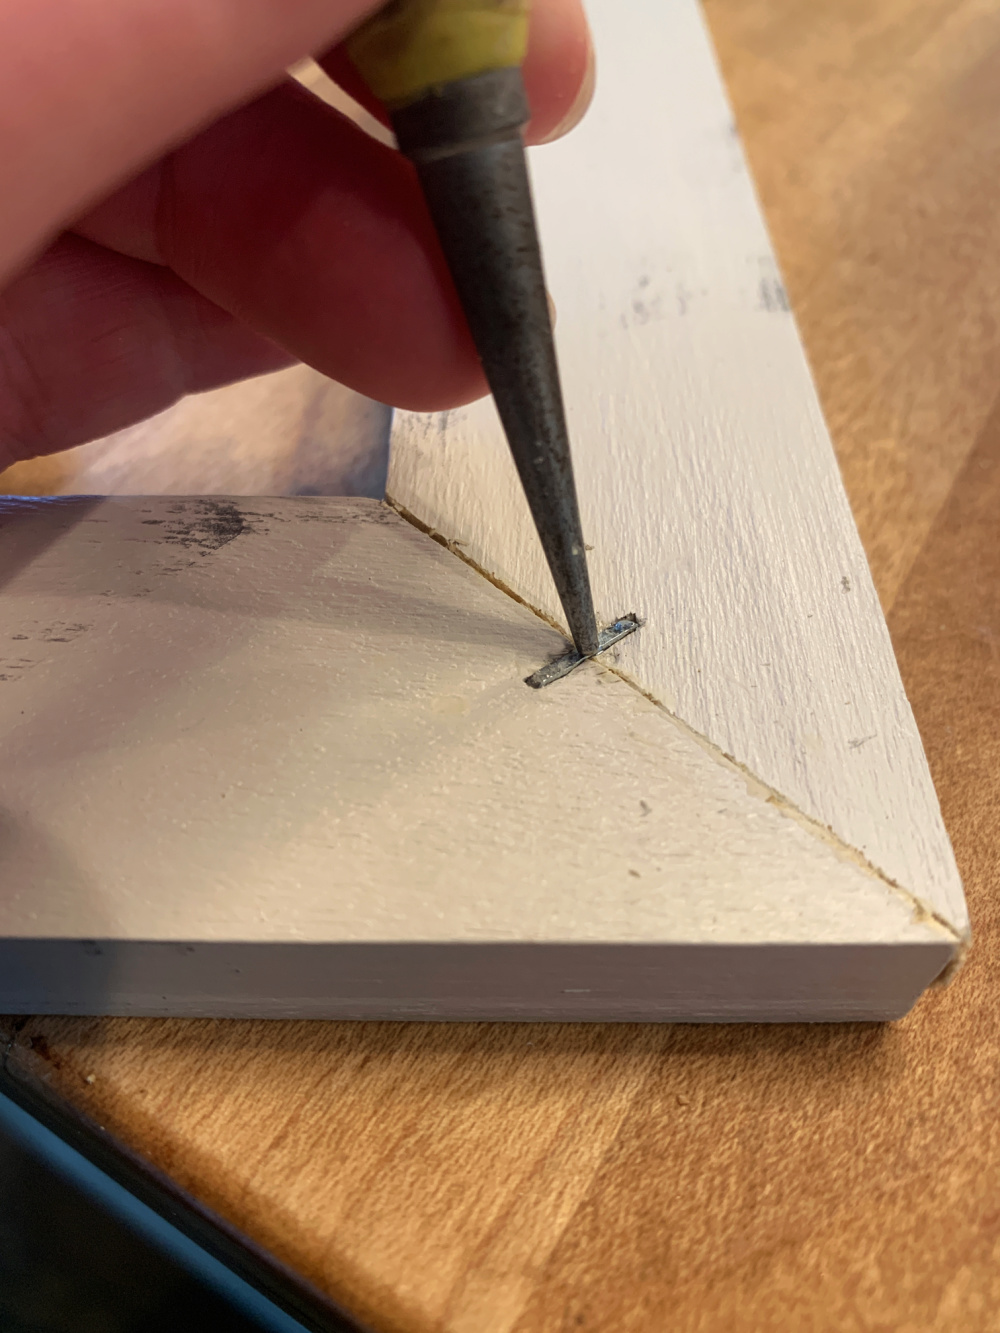
These are easy to hammer in to make them flush with the wood. I used my nail punch to drive them into the wood even further so I could putty over them.

It’s so easy to use and leaves a great, even finish.
After the corners were more secure and the imperfections were filled and sanded, I laid the wood frame face down and placed the cut sheeting on the back. After double checking that it was centered the way I wanted, I started attaching it to the back of the frame.
This metal is so thin, a staple gun is all you need to attach it. I was able to go in between the design for the most part, but in a few spots the staples went right through:
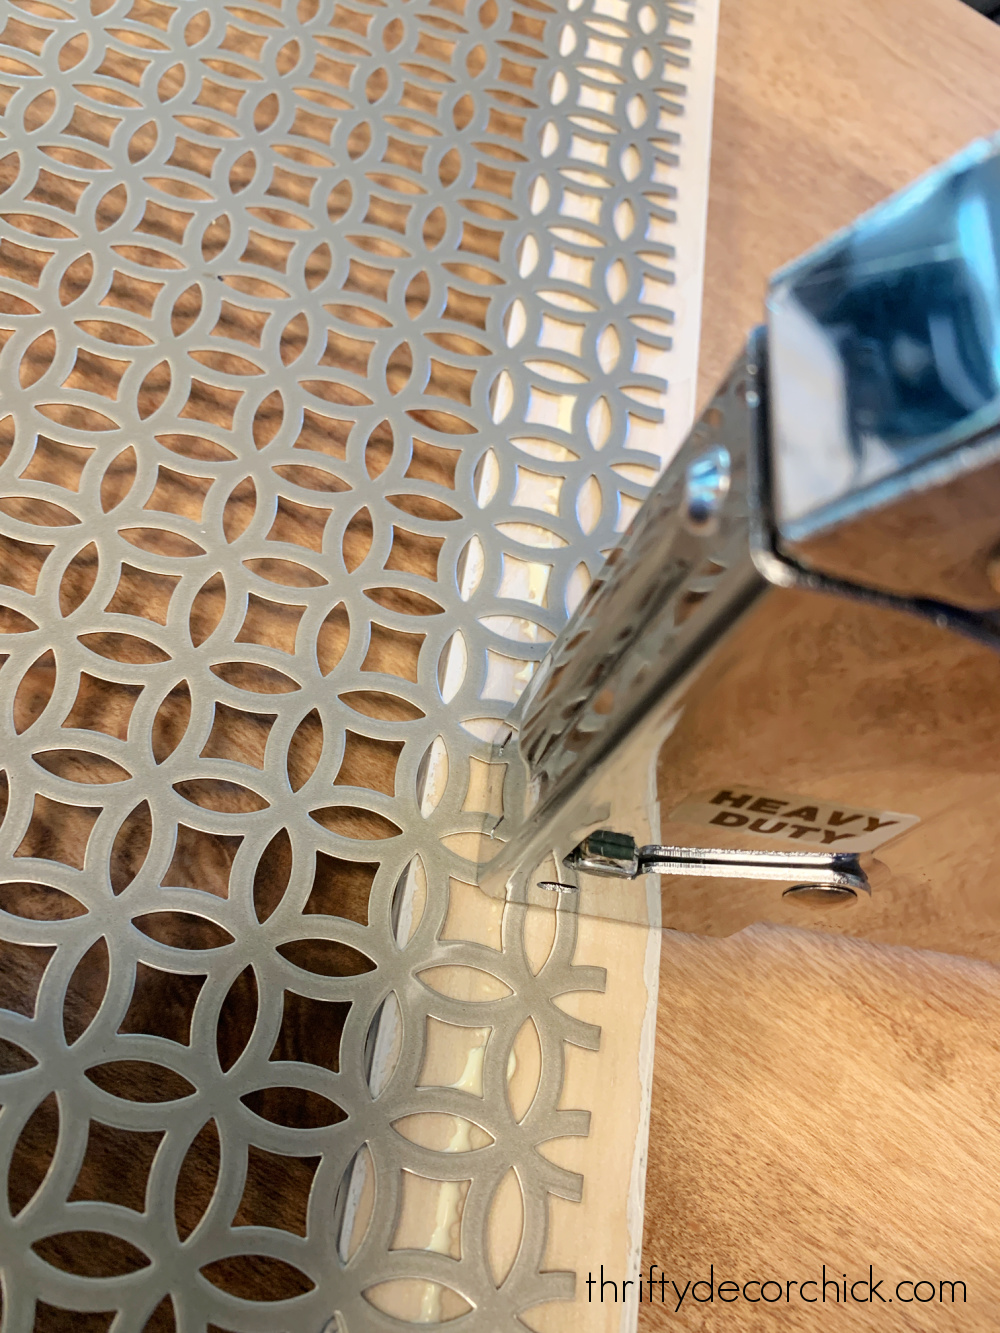
I added a line of glue as well, but it’s not necessary. 🙂
Make sure to hammer your staples in so they’re flush!
I went back and forth on the metal color and ultimately decided on spraying in the brass color I love so much. I’m SO glad I did!:
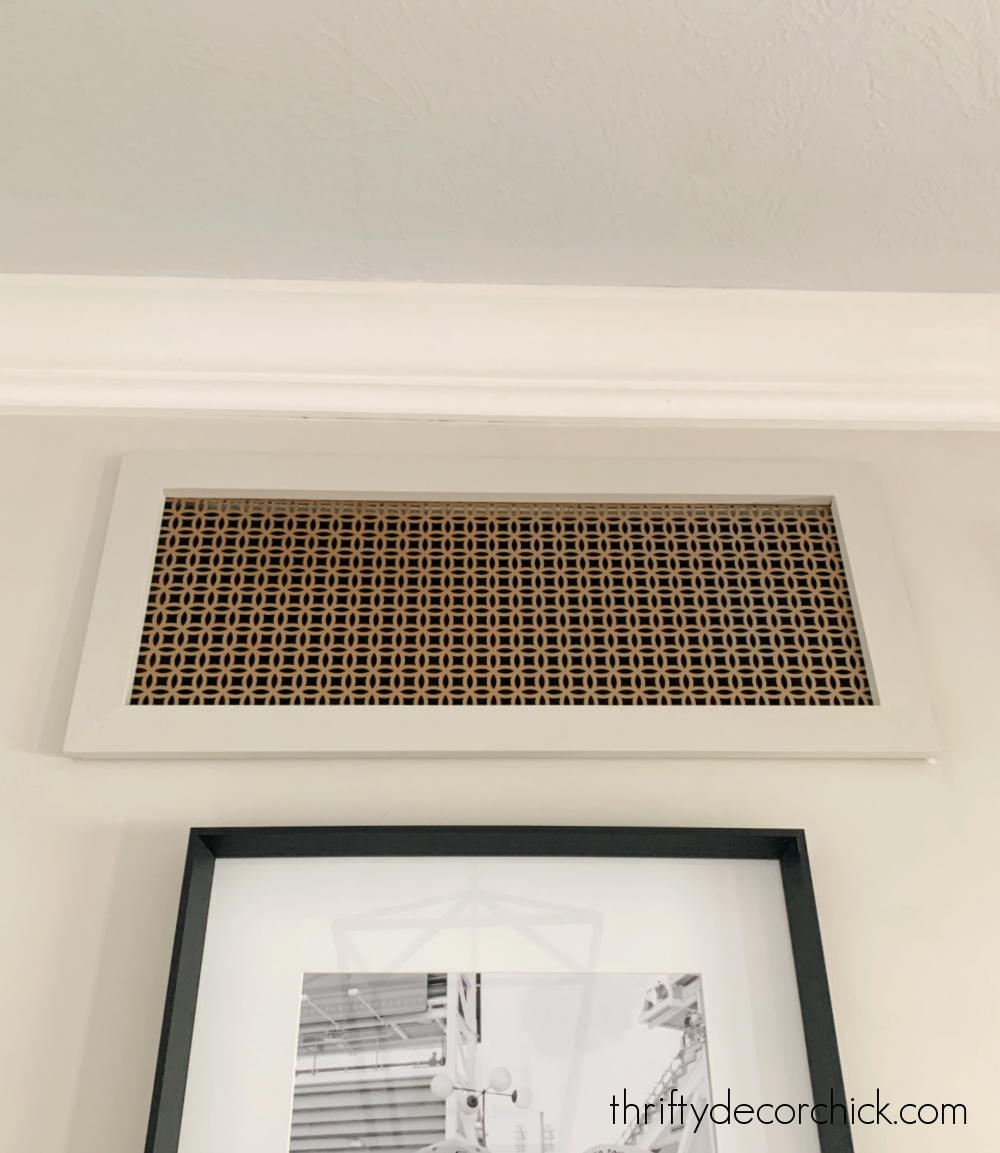
The brass tone is so lovely! I almost painted it the same color as the walls, but I love this slight contrast.
My plan was to attach this to the wall with Velcro 3M strips so it would be easy to take on and off to clean. Turns out we are out of the Velcro versions, so I ended up nailing into the wall around the duct opening for now.
I absolutely LOVE how this DIY vent turned out! I like the architectural interest that the metal gives this space.
It’s like a little piece of artwork!:
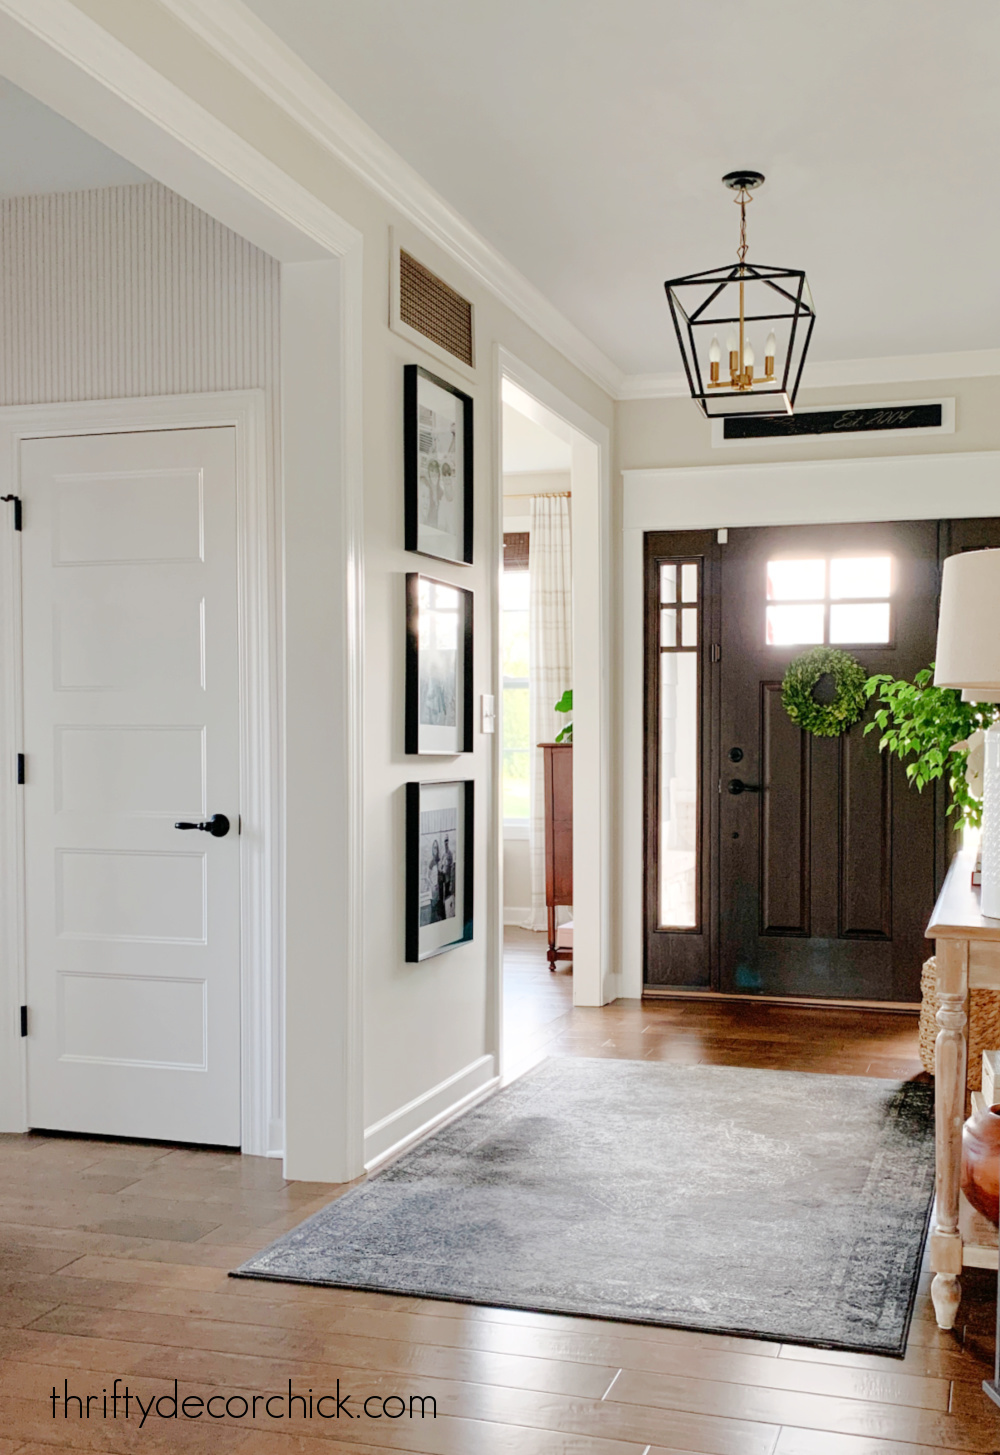
And I didn’t realize till after I got it up that the brass tone ties in the metal on our light fixture as well. 🙂
Here are a few more things to consider if you want to try this DIY decorative air vent cover:
- We don’t use filters on our wall vents, but I figure you could use Command strips to attach them to the back of your vent cover.
- You can use the existing screw holes in the wall by drilling through the frame with a drill bit and attaching it with the same screws. Or countersink your screws and use wood screw covers to hide the top of the screw.
- If your vent is larger, these metal sheets come in various sizes that should work!
- The inside of our vent is black, so you can’t see the metal inside the wall. If your vent is lower on the wall, consider that you may be able to see inside if you change to this sheeting. Sometimes seeing what’s inside looks worse than the basic metal grilles!
If you’re looking to add an understated custom touch to your home, this is one of those little changes that elevates the whole room. I’m so glad I finally tackled this quick project!


