How to Make a DIY Hideaway Lego and Puzzle Tray
How to make an easy and large sliding Lego or puzzle tray!
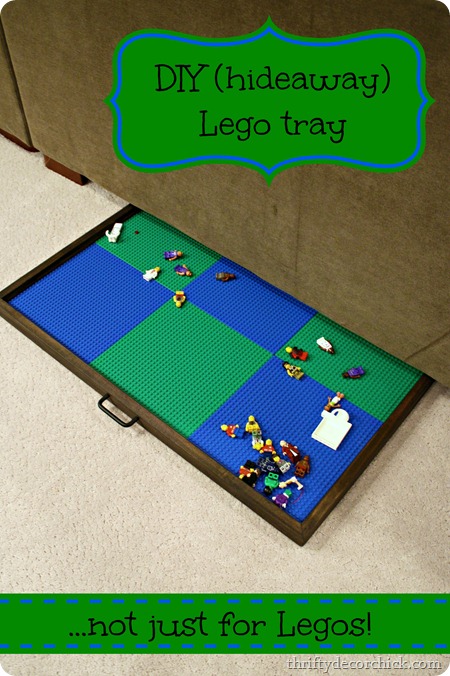
This simple project gives you a large, flat surface for the kids to put together Lego sets, but also hides away under the sofa or a chair!
I noticed something when our son was putting Lego sets together (or playing games/toys) years ago — he wanted to be on the floor. He rarely sat at the couch or on a chair and assembled them on large coffee tables.
Since most of his sets are in the basement (and we have carpet down there), I came up with a solution that would give him a large, flat surface for Lego floor play.
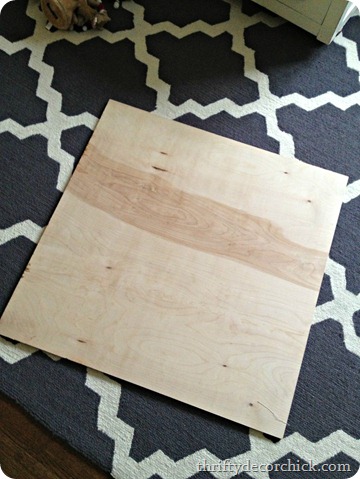
I’ve made wood trays before – you just start with a base:
This post may contain affiliate links for your convenience.
I got a piece of wood from the hardware store and had them cut it down to 30 inches – I wanted it that size for a number of reasons.
A piece of mdf would work just as well, just make sure to paint or seal it before using for food or drink.
I didn’t take pics of putting it together, but you can see how I made the wood tray in our last family room here:
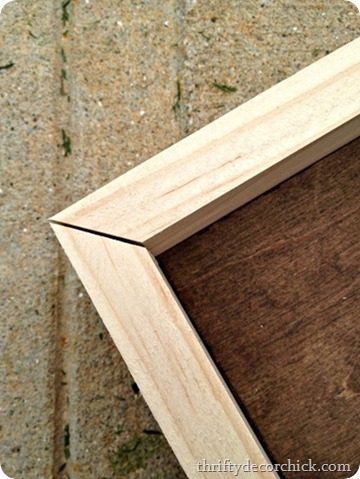
It was the same exact process for this one. You just add the wood strips around the side with wood glue or nails.
Initially I was just going to stain the sides of this one because I knew the bottom would be covered with Lego sheets. But at the last second I had an idea and stained the whole thing.
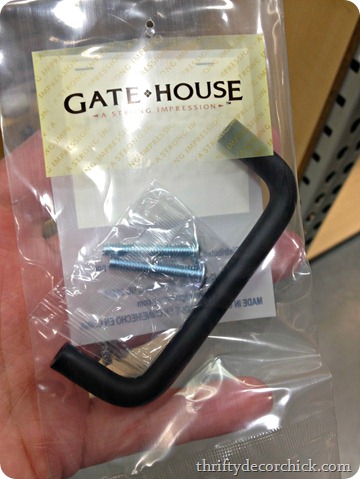
I got these from Lowe’s — they were inexpensive and simple (these black handles are similar). I wanted the handle to be really easy to grab.
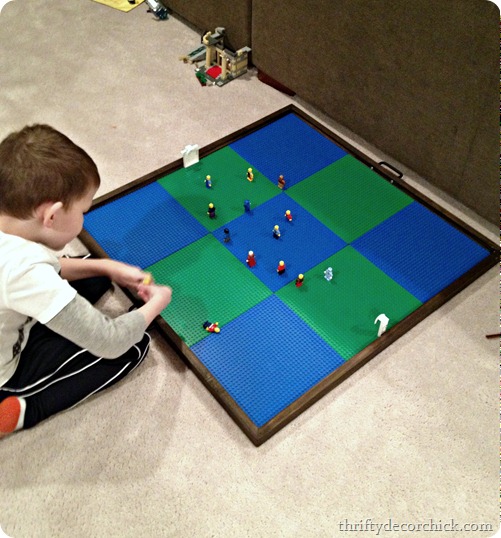
We laid out the blue and green Lego base plates and immediately he was playing:
He loved it! When this idea came to me I planned on gluing the tiles down, but later decided not to (more on that in second). They stay in there just fine.
You can find these Lego sheets here or these sticky backed versions that would work great! You can also use a bit of hot glue to adhere them to the wood.
My boy was in heaven — the first set up was a basketball game because he’s absolutely obsessed with it right now:
Legos are not cheap but we are happy to encourage his love for them (well, I’m not happy when I step on pointy ones in the dark, but whatever). I love how his creativity comes out!
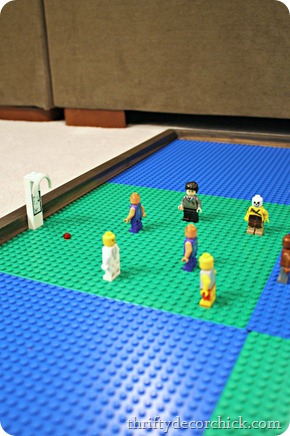
Did you know Harry Potter was a basketball player? Me either.
I think this is the best part though:


It slides away perfectly under the sectional.
It’s accessible from both sides of the sofa but he likes to pull it out in the open space behind. WE LOVE IT.
Another reason I made this so big was so we could use it for other reasons too. We can easily carry it over to the top of the ottoman or table top down there so he can put sets together up higher.

At first I thought we would remove the mats but there’s no need at all.
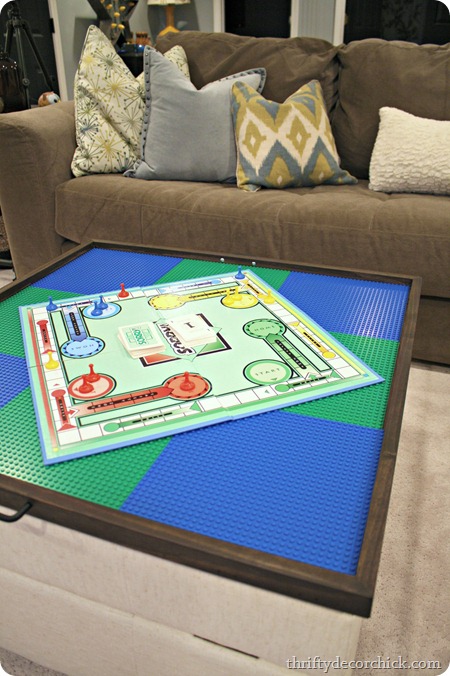
And I’m so glad at the last second I decided to stain the top of the tray too — because now we use it for movie nights, pizza dinners and snacks:

Again, we could just leave the mats on (so easy to take them off or put them back on) and most of the time we probably will. (Keeping them removable means I can wash them too!)
I love how big it is because it fits over the ottoman perfectly — it’s like it was made for it. 😉 And it’s sturdy enough we can put our feet up on it and it’s not going anywhere.
I was able to get rid of a big table that was taking up tons of space and not being used and replace it with a multi-functional one that we can hide away when we’re done:
I also used this for puzzles! I can keep my puzzle pieces on the tray and slide it away in between.
The cost to make the tray itself wasn’t too bad — about $20 for the base and $4 for the handles (I had the trim pieces for the sides), which I didn’t think was too bad for that size.
I love figuring out a way to make things work better for everyone in the family, but I’m most thrilled that the Bub loves it so much. He uses it every day.
So do you have a Lego-obsessed kiddo (or adult Lego fans!) in your house?


